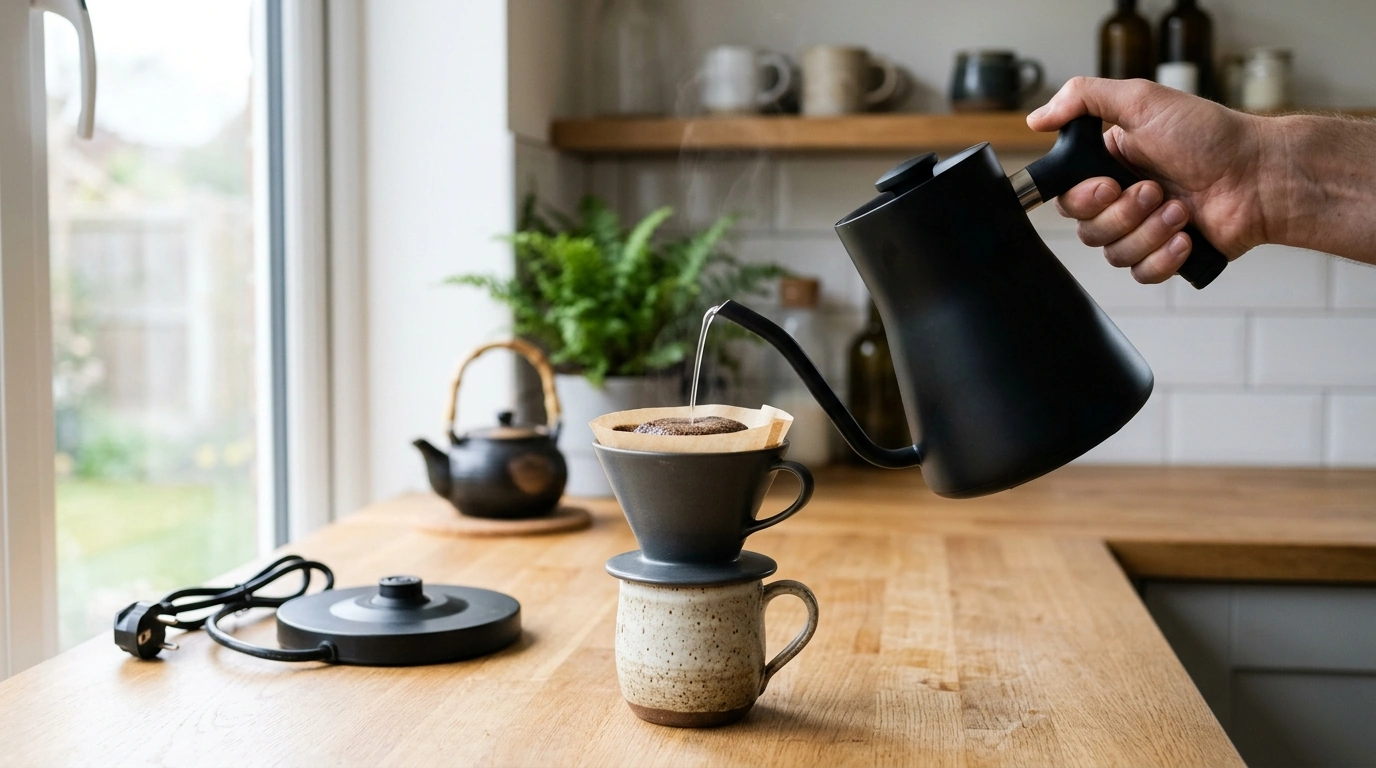
A good cup of coffee or tea starts with water, and the way you heat and pour it can make your routine feel more comfortable. Our 1L electric gooseneck kettle brings together fast heating and a spout suited to a more deliberate pour.
Whether you’re brewing one cup before work or making tea for a quiet afternoon, it gives you a practical way to prepare hot water. Here’s how to put it to work, from your first pour to everyday care.
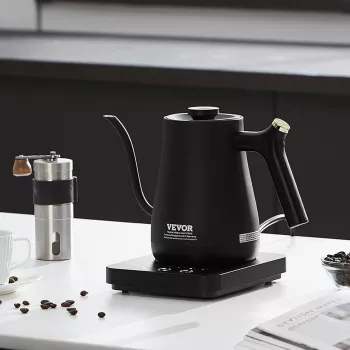
The kettle has a 1L capacity and 1200W of power, a combination designed for fast heating without taking up your entire brewing routine. The amount you need will depend on the size and number of drinks you’re making. Follow the product’s filling instructions each time rather than estimating the maximum fill level.
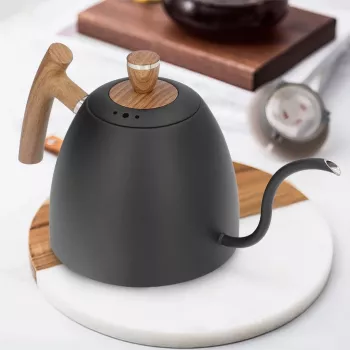
Its gooseneck spout is especially useful for pour-over coffee. The narrow shape helps you direct water toward the grounds, so you can work around the filter with a more controlled stream. That control comes from your pouring technique: tip the kettle gradually and adjust as you go.
For tea, the same kettle provides hot water for a mug or teapot. There’s no need to reserve it for one kind of drink, and you can adapt your preparation to suit what you’re brewing. Heating time will vary, so allow enough time for your routine rather than counting on a specific wait.
These details are the starting point when deciding whether the kettle fits the way you make drinks at home.
| Detail | What it means for your routine |
|---|---|
| 1L capacity | A convenient size for preparing hot water for coffee or tea. |
| 1200W power | Designed for fast heating. |
| Gooseneck spout | Helps guide a precise pour over coffee grounds. |
| Electric kettle | Heats water using an electrical connection. |
Pour-over brewing gives you a chance to pay attention to how water meets the coffee. You don’t have to make the process complicated: start with fresh water, a filter, a brewer, and ground coffee.
The gooseneck helps you place the water, but it doesn’t replace attention to the rest of the recipe. Grind, proportions, water temperature, and brewing time all influence your cup. For more general guidance, see the National Coffee Association’s brewing guide.
The kettle is also an easy companion for loose-leaf tea or tea bags. Prepare the amount of water you need for your cup or pot, then follow your tea maker’s recommended water temperature and steeping time. Some teas call for water cooler than boiling; when appropriate, let boiled water cool before pouring it over the leaves.
Once the tea has steeped, remove the bag or strain the leaves according to the directions. If you enjoy setting out a cup and saucer for your break, our golden-edged ceramic coffee mug with plate is a complementary serving option for coffee or tea. It makes a simple pause feel a little more considered, whether you’re serving a guest or taking a moment for yourself.
Place the kettle on a stable counter away from the edge, and handle hot water carefully when filling your brewer, mug, or teapot. Keep your hands clear of the stream and pour at a pace you can comfortably control. Give the kettle space on the counter so you don’t have to reach across other items with hot water.
Follow the product instructions for filling, operation, and cleaning. Mineral buildup can develop with regular use, especially where water is hard, so descale as needed according to the manufacturer’s instructions. A little routine care helps keep the kettle ready for the next round of drinks.
With a 1L capacity, 1200W fast heating, and a gooseneck spout, this kettle is a practical choice for everyday coffee and tea. Our team recommends starting with a simple recipe and adjusting your pour to match the cup you enjoy.
Explore the 1L electric gooseneck kettle on its product page. It is listed at $41.51; pricing may change.
Yes. Its narrow spout helps you direct a controlled stream of water over the coffee grounds.
Yes. It heats water for tea; follow your tea maker’s recommended water temperature and steeping instructions.
The listed capacity is 1 liter. Follow the product’s filling instructions when adding water.









Leave a comment